
Queen Anne-style chair gets a new finish

Sarah Finks | Contributor
Now that the old outfit is off the antique Queen Anne-style chair we're restoring, it's time to get rid of this old finish. (See last week's column for the introduction to this project.)
Sarah Finks | Contributor
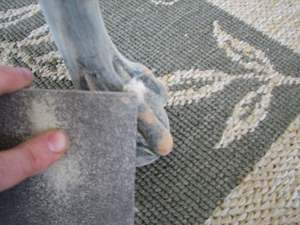
I sanded the whole chair using an 80-grit sanding block, making sure to remove all of the old stain on the edges and detail. On the rest of the chair, I just removed the gloss. This makes a difference down the line when I do the distressing.
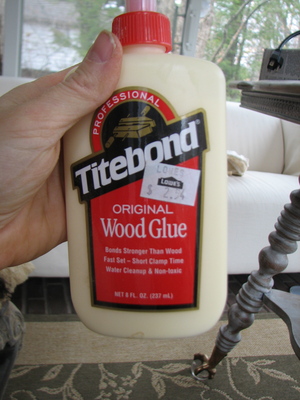
I used a little wood glue to repair an arm, which was being held together only by the old fabric, and clamped it overnight to ensure a good seal.
Sarah Finks | Contributor
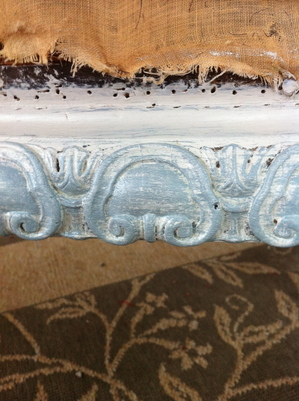
The first coat is a very light gray by Valspar, called Filtered Shade. Second coat, just to highlight the details, is Benjamin Moore's Van Courtland Blue.
Sarah Finks | Contributor
And finally a top coat of a very bright white.
The nice thing about this technique is that it doesn't have to be perfect. Actually the messier your painting, the better.
To finish up, I distressed the entire chair with an 80-grit sanding block. But you are going to have to wait to see the results. Next week, Victoria gets a new outfit!
Sarah Finks is a local mom and blogger who lovingly restores furniture in her spare time. Feel free to email her at threeboys.home@gmail.com or check out her blog at threeboys-home.blogspot.com for more furniture makeovers.