
Make your own Tiffany Glass
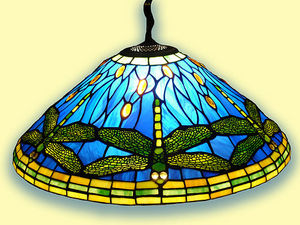
Photo by Hannes Grobe, via Wikimedia Commons
In this activity, you and your child can create a beautiful Tiffany Glass work using just a few art supplies.
The History of Tiffany Glass
Tiffany Glass is the product of American artist and designer Louis Comfort Tiffany. Inspired by Roman and Syrian glass creations, Tiffany began creating stained glass works in 1878 when he opened his own studio in New York.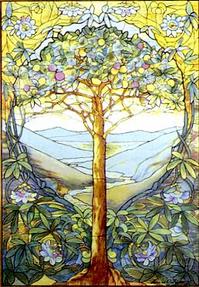
Photo by Isis at en.wikipedia (in the public domain), from Wikimedia Commons
He could not find the quality of glass he desired, so he gathered a team to create the materials for his work. The fact that Tiffany both designed and produced the materials is part of the reason why he became a world-renowned glass artist.
Tiffany Studios, the name of his company, produced stained glass works from 1878 through 1933, when Tiffany died. His most popular pieces he created were Tiffany lamps and stained glass windows, which can be found in various locations throughout the United States. Tiffany used images and colors from nature for his inspiration, which resulted in brightly colored floral scenes, and pictures of forests. He was passionate about nature, and thought that its beauty could decorate any surface, in any place.
Make Your Own Tiffany Glass Design
You can make this design in: 1 hour (Includes drying time in between sections)What you will need:
- Plastic sheet/ transparency paper, or a small piece of glass (not recommended for young children)
- Stained glass-like paint (such as brand Gallery Glass)
- Templates
Step 1: Place your plastic sheet over top of a template, or a design of your own, and tape it down. Carefully outline the design using your black glue mixture or black window paint and then let it dry for about 20 minutes.
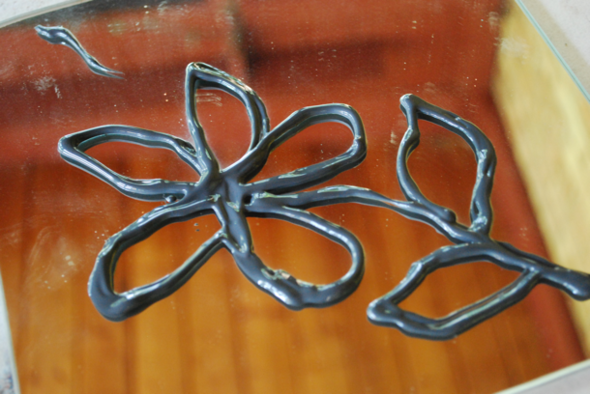
Photo by Ann Arbor Art Center
Step 2: Using your colored glue paints or window paint, add color to your project using a paintbrush or the window paint bottle, leaving the black lines visible. Touch up any black lines as needed.
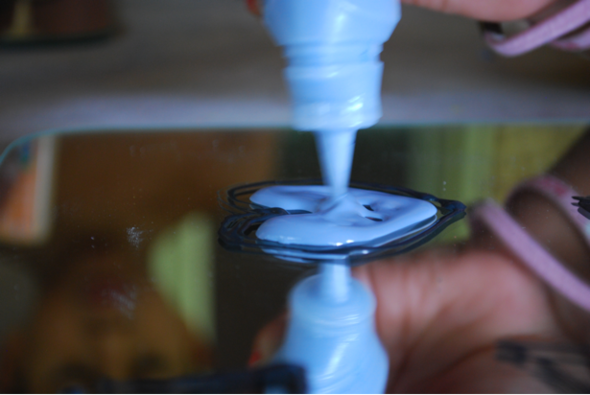
Photo by Ann Arbor Art Center
Step 3: Let your design dry, then hang it up in a window so that light shines through, like a real stained glass design!
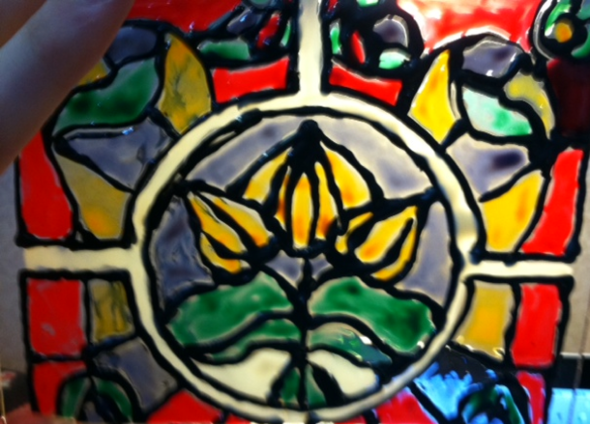
Photo by Ann Arbor Art Center
Think about this:
- What story does your stained glass image tell?
- What do the images symbolize?
- Have you ever seen stained glass windows in a building? If so, where?
- What happens when light shines through colored glass?
To print this activity, please download and save the following PDF to your desktop: Tiffany Glass - Creativity Corner.pdf
See more Creativity Corner articles here.

The Ann Arbor Art Center is a non-profit organization dedicated to engaging the community in the education, exhibition and exploration of the visual arts. Offering studio art classes, workshops, exhibitions, summer camps and more, the Art Center is celebrating over 100 years of being the place where creativity and community meet. For more information please visit www.annarborartcenter.org or stop by the Art Center located at 117 W. Liberty in downtown Ann Arbor.