Make your own Paleolithic Cave Painting
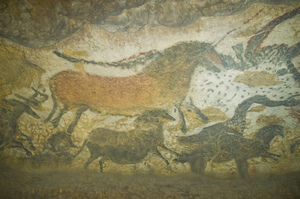
Photo by Flickr user JackVersloot
In this activity, you and your child can tell a story by creating a Paleolithic Cave Painting using a few common craft supplies.
The History of Cave Painting
Cave paintings are the prehistoric images found on the walls of caves all around the world, with the oldest dating back to 32,000 B.C.E. The purpose of these cave paintings is uncertain, however, some evidence suggests that they were not purely for decoration.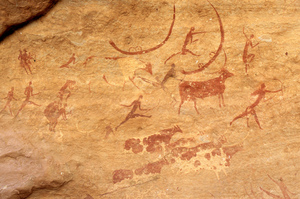
Photo by Flickr user Gruban
One theory suggests that they served a magical purpose for hunting, in hopes of increasing the number of animals available to hunt. Another theory suggests that a shaman would enter the cave and paint his visions, perhaps to gain power. The third theory suggests that a wide range of people created these images, with the majority being female, proving the shaman theories invalid.
There is no way of proving any of these ideas right or wrong, so it's all about looking at the evidence.
The materials used in the cave paintings were natural pigments, created by mixing ground up natural elements such as dirt, red ochre, and animal blood, with animal fat, and saliva. They applied the paint using a hand-made brush from a twig, and blow pipes, made from bird bones, to spray paint onto the cave wall.
Make Your Own Paleolithic Cave Painting
You can make this project in: Half an hourWhat you will need:
- Grocery-sized brown paper bag, or brown construction paper
- Colored chalk or oil pastels
- Paint, in natural earth tones (or make your own natural paint, instructions to follow)
- Paintbrush
- Spray bottle (optional)
Step 1: Tear a large piece off your grocery bag or construction paper, and crumple it into a ball. This creates texture, like the wall of a cave!
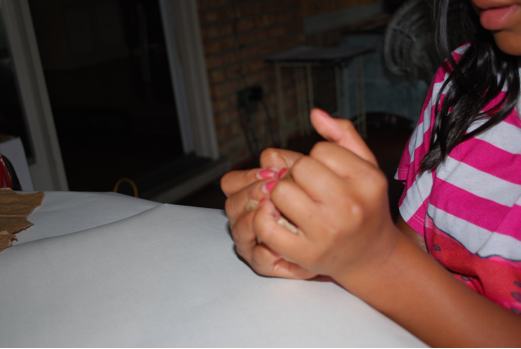
Photo by Ann Arbor Art Center
Step 2: Outline your design lightly in chalk or pencil.
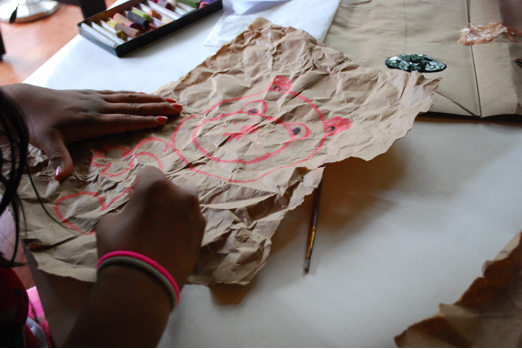
Photo by Ann Arbor Art Center
Step 3: Fill in your drawing with paint, using a paintbrush.
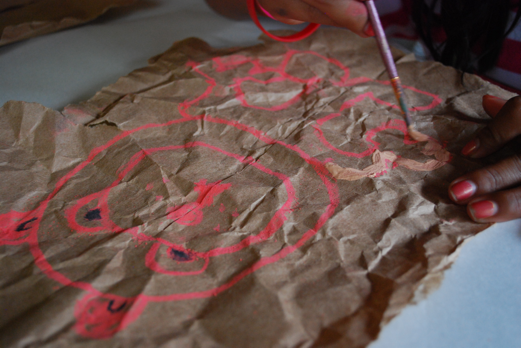
Photo by Ann Arbor Art Center
Step 4: If you choose, dilute some paint with water, add it to a spray bottle, and place your hand on your work. Then, spray over top of your hand, creating an outline. This is how cave artists used to sign their work!
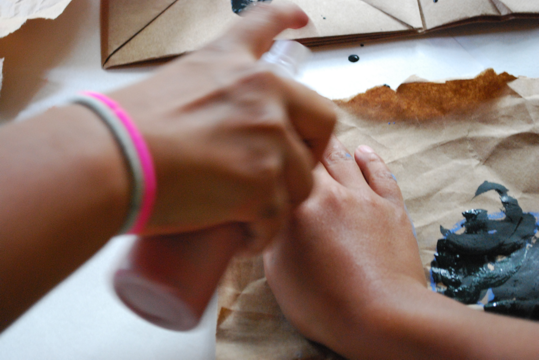
Photo by Ann Arbor Art Center
Step 5: Now your cave painting is complete!
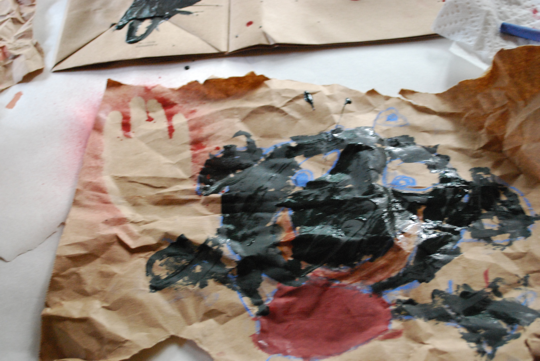
Photo by Ann Arbor Art Center
For even more fun!
Try attaching your paper under a table with tape, and paint upside down. This is how cave painters would have worked! Put a blanket over the table to create a cave-like atmosphere, and light up your work with a flashlight.Create your own natural paints
- Take natural materials such as berries, dirt, or grass and crush them in a bowl.
- Then, mix this with water and apply to the surface of your painting.
Think about this
- What story did you illustrate in your cave painting?
- Why do you think people painted in caves?
- How else do you think people made images before paper was invented?
- What do you think cave artists were trying to communicate through their art?
Print and share this activity!
To print this activity, please download and save the following PDF to your desktop: Paleolithic Cave Painting How-To.pdf
See more Creativity Corner articles here.

The Ann Arbor Art Center is a non-profit organization dedicated to engaging the community in the education, exhibition and exploration of the visual arts. Offering studio art classes, workshops, exhibitions, summer camps and more, the Art Center is celebrating over 100 years of being the place where creativity and community meet. For more information please visit www.annarborartcenter.org or stop by the Art Center located at 117 W. Liberty in downtown Ann Arbor.

